Sample Preparation in Flow Cytometry — Tips & Tricks
- Feb 26, 2026
- 5 min read
- Chloe Fenton, PhD
When used correctly, flow cytometry can be a powerful tool for measuring multiple parameters simultaneously at the single-cell level.
However, to obtain robust and reliable results, there are many things you must keep in mind, and one key factor is sample preparation. As with many scientific applications, to get high-quality output, you need to generate high-quality input.
While the details of your sample preparation may be specific to your experiment and cell or tissue type, there are some general aspects you need to consider.
In this blog, we provide tips and advice on generating a high-quality sample for flow cytometry.
Cell Harvesting — General Information
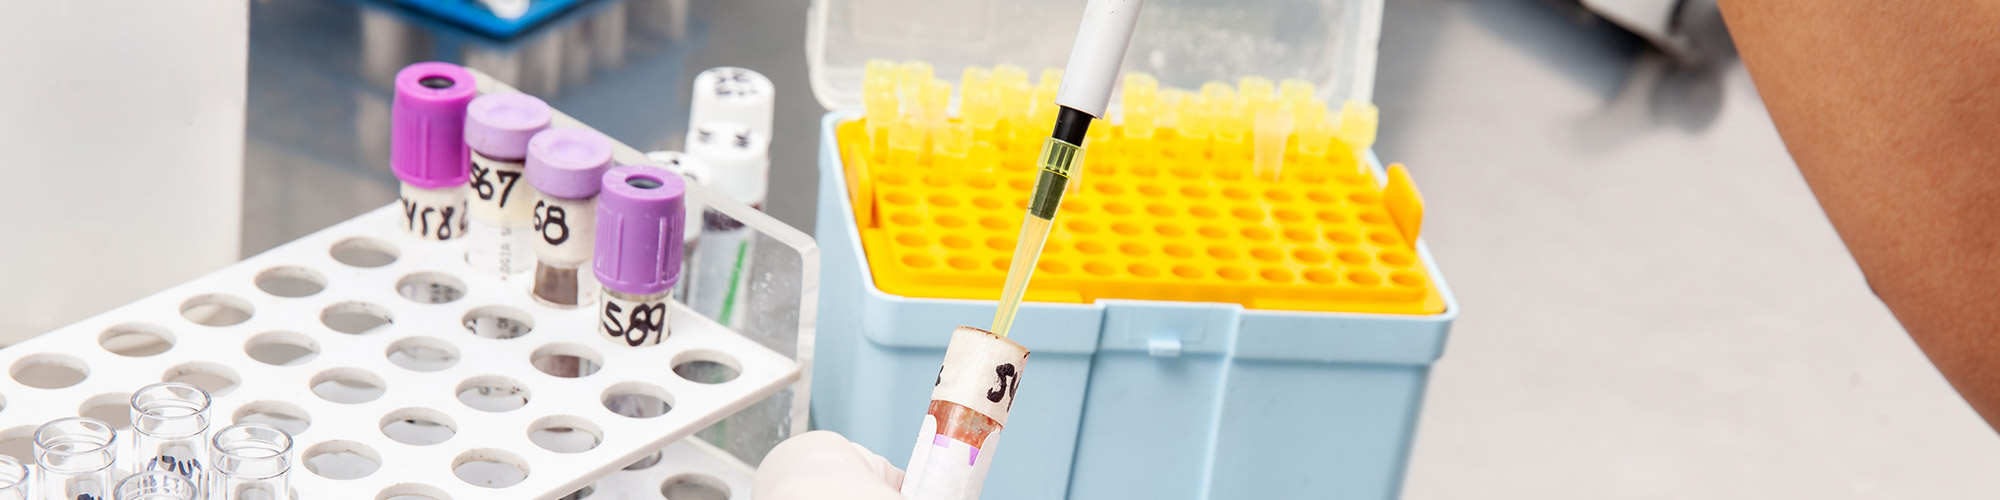
The first step in preparing your sample is harvesting your cells. The overall goal is to generate a single-cell suspension, and the method you use to achieve this will greatly depend on your target cell type or tissue.
However, some general principles apply to most cell harvesting approaches:
- Remove other unwanted cell types from your sample when possible
- Phosphate buffered saline (PBS) is a common buffer used when harvesting, however, a specific buffer may be required for your cell type
- Avoid over-centrifugation — centrifugation is often performed at 300–400 xg for five minutes
- Avoid over-vortexing — this can cause cell stress and death
- Don’t let your cells dry out and keep them at 4°C once harvested
Cell Harvesting — The Specifics
The three most common sample types for flow cytometry are cell culture, blood, and tissues.
Harvesting Cells from Cell Culture
The most straightforward cells to prepare for flow cytometry are nonadherent tissue culture cell lines, as they are already in suspension and can be transferred directly from their tissue culture flask to a Falcon tube for centrifugation.
For adherent cells, such as fibroblasts, you must detach them and ensure they remain viable in a cell suspension long enough to be analyzed.
Trypsin is a commonly used reagent for detaching cells, however, it is a harsh treatment and can destroy your cells and epitopes. Accutase is a gentler enzymatic detachment method that can be used instead.
Alternatively, cells that are particularly sensitive to the enzymatic methods can be harvested by gentle scraping into cell culture media.
You can find protocols for preparing different types of cells from culture here.
Harvesting Cells from Blood
Blood contains a variety of cell types that could be of interest in your experiments.
First, it’s important to handle blood properly before isolating the cells. Whole blood can be stored at 4°C or room temperature, and an anticoagulant, such as heparin or EDTA, should be added to avoid clotting. The sample should be brought to room temperature just prior to processing.
Ideally, the sample should be prepared as soon as possible after collection, otherwise cell viability and antigen expression can be affected.
Typically, it is the peripheral blood mononuclear cells (PBMCs), including lymphocytes and monocytes, that are of interest in blood samples. If this is the case, then it is best to get rid of red blood cells (RBCs), as they make up around 95% of whole blood, and their presence can make detecting PBMCs difficult.
RBCs can be removed with a cell lysis solution or with a density gradient, such as Ficoll or Lympho Prep, to separate the different cell populations.
For more detailed, step-by-step instructions, take a look at the protocol on our website.
Harvesting Cells from Tissue
For your research, you may be interested in cell populations present in a particular organ. In this case, the tissue will first need to be disaggregated to access the cells within. The specific method that you use to do this will heavily depend on your tissue type, as different organs will need more or less aggressive disaggregation techniques.
Typically, you must first mechanically break up your sample using scissors or a scalpel. Many tissue samples will then also require enzymatic disaggregation to digest the extracellular matrix.
It’s important to strike a good balance between effective dissociation and cellular damage. Too harsh a treatment or prolonged digestion can cause cell death, and dying cells release DNA, leading to aggregate formation. Adding DNAse or EDTA can reduce this.
Trypsin is harsher than collagenase, while dispase is gentler and is often used for isolating rare cell populations. It’s best to review the literature to determine the optimal combination of enzymes for achieving good results for your specific experiment.
It is recommended to filter the sample using a cell strainer before acquisition to eliminate aggregates that may obstruct the cytometer or compromise data quality. Additionally, maintain cells on ice and resuspend cell pellets in chilled buffers to ensure the sample remains at a low temperature, thereby minimizing cell death.
Fixation and Permeabilization
Fixation is important in flow cytometry for many reasons, including safety, reproducibility, sample preservation, and convenience. Fixation kills cells instantly, preserving a snapshot of their current state and permitting the study of dynamic cellular processes at a precise time point.
However, fixation can impact sample morphology and fluorophore performance, so optimizing both the fixative and protocol may be necessary.
Additionally, if you want to detect intracellular markers, permeabilization, which involves making holes in the cell membrane, is required to access your target.
Your choice of fixative and permeabilization reagent will depend on your experiment. Formaldehyde is the most common fixative as it is compatible with most sample types and target proteins. However, it will not permeabilize cells, so a separate permeabilization step is required for intracellular staining.
Alcohols, such as ethanol and methanol, can be used as both a fixative and a permeabilization reagent simultaneously. They are commonly used for analyzing DNA, for example, in the analysis of the cell cycle. However, epitope masking can occur with alcohol-based fixatives, leading to reduced or no staining. This can be antibody-specific, so it is best to check the datasheet before staining.
For more information on specific fixatives, visit Bio-Rad’s Benefits and Pitfalls of Fixing Cells in Flow Cytometry webpage.
Keep in mind that fixation may also reduce the brightness of your fluorophores. StarBright Dyes have been tested using both formaldehyde and alcohol-based fixation protocols with minimal loss of signal and maintenance of reproducible spectra, making them an ideal choice when fixing is required in flow cytometry.
Blocking
The final step to consider before staining your sample is blocking Fc receptors.
Fc receptors are present on various immune cells, such as monocytes, macrophages, dendritic cells, and B cells. These receptors bind to antibodies via their constant Fc region rather than the part that recognizes specific antigens, the Fab domain, thus, they must be blocked to avoid false positives in your data from nonspecific binding.
Fc-blocking reagents, such as Human Seroblock and Mouse Seroblock FcR, have been developed to enable specific binding.
The information provided here should give you a good place to start when preparing your samples for staining in flow cytometry. For a comprehensive overview of planning a flow cytometry experiment, try our Flow Cytometry Design Tool, which provides you with all the information you need, including protocols, resources, and products, specifically tailored to your experiment plus a customizable Experiment Planner.
Want to Learn More about Sample Preparation in Flow Cytometry?
Enroll in the Sample Preparation Essentials course in Bio-Rad’s free, online Fundamentals of Flow Cytometry series.